
SINGAPORE IS ONE of the most expensive cities in the world, but with this travel guide, you can explore it for four days for only P5,000, or US$112, airfare not included.
How’s that possible? It took us a few trips to this city-state before we perfected the art of exploring its beautiful spots without breaking the bank.
Here are the things to remember so you can maximize your time and budget while in Singapore.
1. Book a seat sale from your airline of choice. We’ve been booking through Cebu Pacific, which has given us some of our cheapest flights to SG, costing P3,000+ two-way. To maximize your four days, it’s best to take an early morning flight from your home country and a late-night flight back home. For Filipinos, the flight to and from Manila or Clark takes around 5 hours.
2. Book a room 2-3 months ahead of your flight. We’d highly recommend booking through Airbnb. If it’s your first time, use this link when signing up, as my code gives you a P850 discount on your first booking. Another option is a hostel. Though you’d be sharing with other backpackers, you can get one for as low as P650 a night. Choose one near the MRT/LRT lines to cut down on hassle.
3. It helps to bring a friend along for your escapades, since having a buddy is an advantage. Not only can you split most costs in half, but having someone you trust with you also adds to your confidence in exploring a foreign land. Traveling alone is fine too, though. Most importantly, don’t convert every peso you spend, but do keep in mind that as of this posting, SG$1 = P34.
More on that here: 8 Travel Hacks You Should Do to Save on Your Next Trips.

Did you know Changi International Airport in Singapore is considered the world’s best airport?
Your 4-Day Itinerary: You’ll arrive at Changi International Airport Terminal 2, considered among the best airports in the world, after five hours in the air passing through Malaysia and Indonesia.
Your Singapore escapade begins upon arrival at Changi Airport. After clearing immigration, you’ll spot plenty of information and tourist counters on your way out. Feel free to ask them for directions to your place of stay, though that won’t be necessary if you bookmark and print this article. Do grab a Singapore map though — they’re free.
Since we’re working on a budget, it’s best to get around by bus and MRT/LRT alone. Buy either a NETS or EZ-Link card at the airport’s train station, which you’ll use for transportation throughout. The train lines are all interconnected, so there’s little chance of getting lost. Buy the card for a minimum of SG$12 and load it with around $30, more than enough for four days of transportation. Each train ride won’t cost more than $2. Bus rides are cheaper than MRT but less efficient, so given your limited stay, stick to the trains.

Be sure to buy a prepaid tap & pay card as soon as you land in Singapore.

Waiting for the train to arrive.
Day 1: Arrival + Escapades (Hostel/Homestay + Gardens By The Bay + Marina Bay Sands + Merlion Park + Chinatown)
Head to your place of stay and unpack, then eat lunch. Quick tip! Eating out is often what eats up most of a travel budget, but for us, the best way to taste Singapore’s flavors is through its hundreds of hawker centers and food courts scattered across the city. It’s actually a lesson we learned the hard way: on our first visit, we spent around P60,000 over 10 days by always dining at nice restaurants, taking cabs everywhere, and staying in above-average hotels. If you’re on the vacation of a lifetime, go for it. But if you’re budget traveling, stick to hawkers — there’s one near almost every MRT station.

This hawker center in Singapore is where most locals eat. Tourists after a taste of Singapore should try it too.
Each meal won’t cost more than SG$5 (P170). Most of our meals actually run around SG$3 (P107), but since we don’t know your appetite, we’re using SG$5 for this budget. We also don’t eat three times a day; sometimes it’s just twice, since we’re mainly there to taste the local flavors, though we make sure to have one or two heavier meals daily, since exploring Singapore in a limited number of days takes a lot of energy. We also bring along some biscuits, 3-in-1 coffee, and Milo sachets — I’m a coffee drinker, Kim’s a Milo lover. I always pack ground Starbucks coffee whenever I travel too, so I can brew my own for breakfast or anytime we’re just at home base. Groceries, and even water, tend to be pricier in the city. On our ongoing trip here as of this writing, our host’s little kitchen is stocked with coffee, tea, and even instant noodles, free for the taking, and they allow cooking too, which adds up to real savings. Whatever you save on meals, you can put toward pasalubong or another destination.
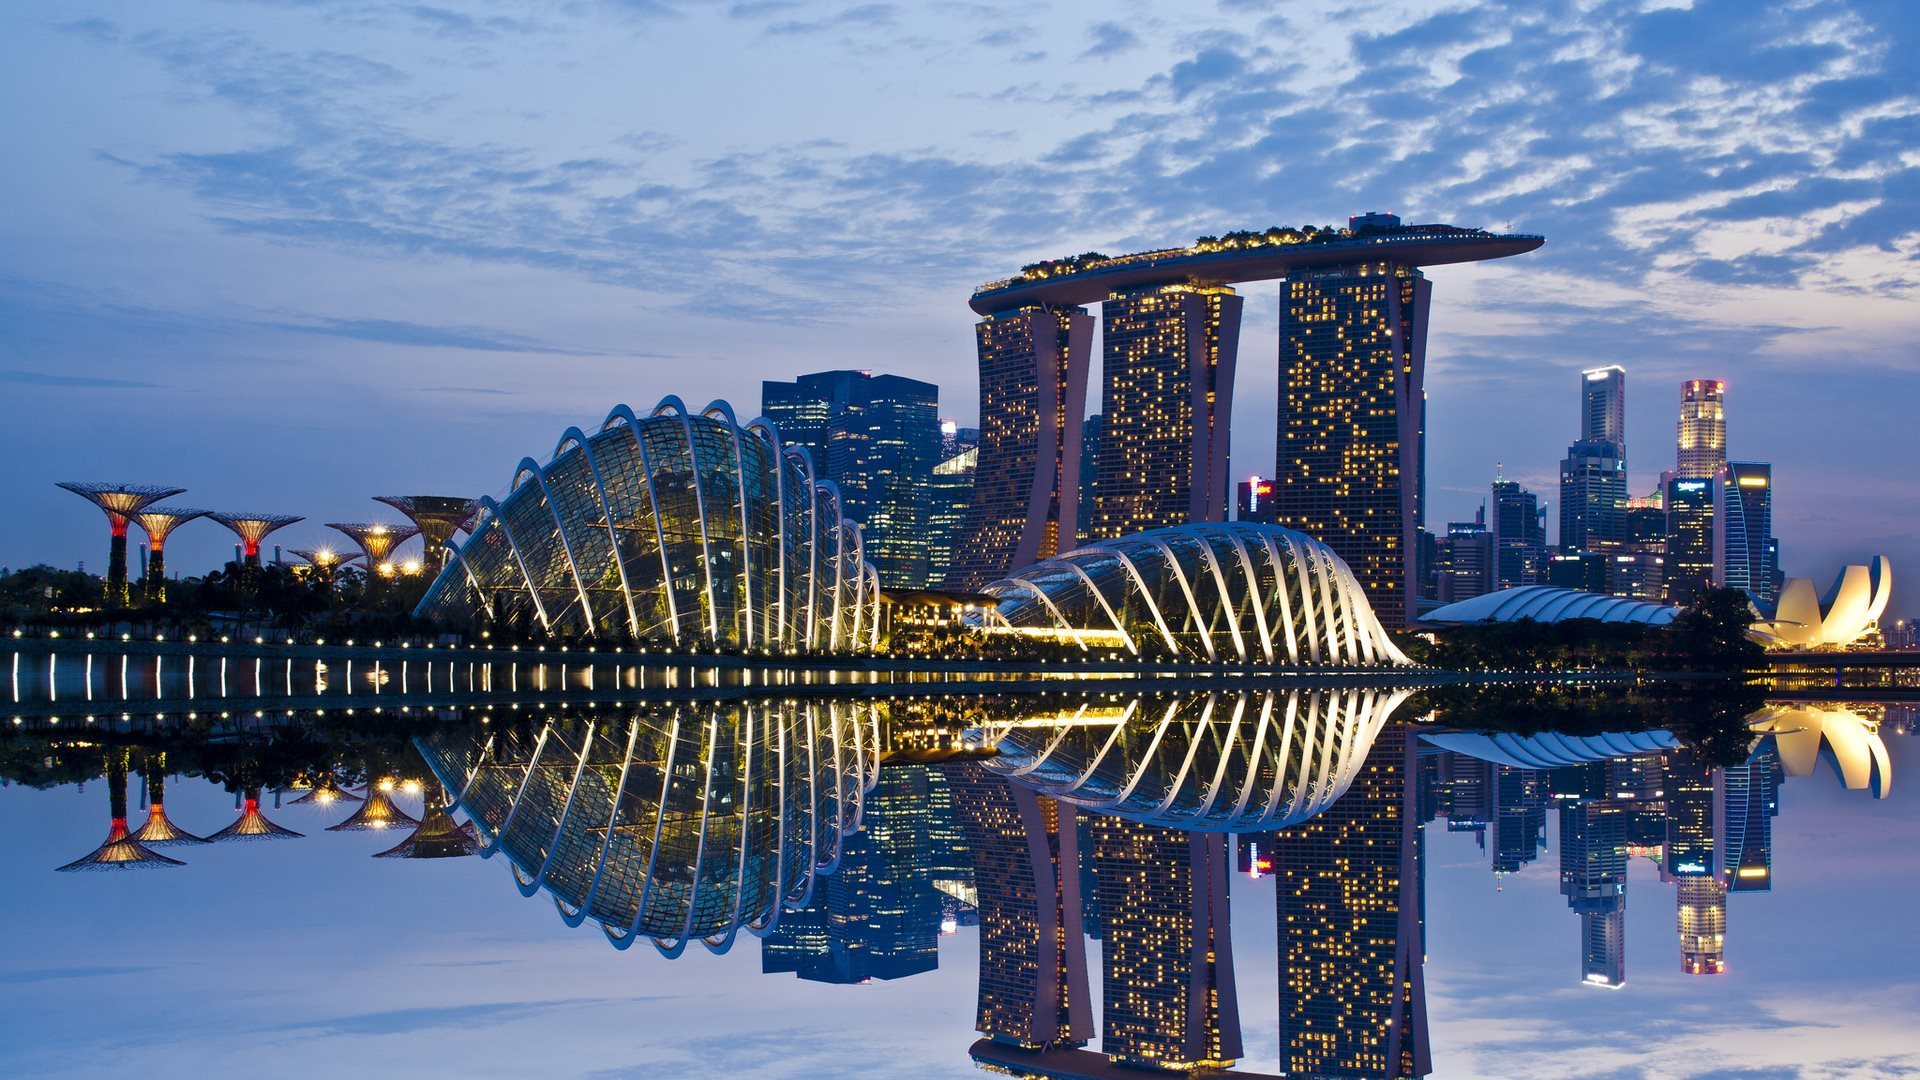
Right after your first meal in Singapore, take the MRT/LRT (red line) to Marina Bay Station. Alight and enjoy the Marina Bay area for the rest of the afternoon. For us, Marina Bay is the heart of Singapore, and strolling around gives you a good sense of how nice it is to be in this country. Be sure to get a photo with the Merlion, using the financial district or city skyline as your backdrop, and another with Marina Bay Sands behind you. Then head to the picturesque Gardens by the Bay just as the sun starts to set — it’s mesmerizing, and all of this is free. Take plenty of photos.

The majestic view of Marina Bay Sands, and Marina Bay itself.

Seated on the floor at Gardens by the Bay, we managed to take a photo of Marina Bay Sands Hotel, one of Singapore’s premium hotels.

This is how one side of Gardens by the Bay looks. What you see here are the giant trees, but the garden has plenty more to offer beyond them.
At around 8pm, head to the MRT station and go to Chinatown, where you can have dinner and buy souvenirs if you like — Chinatown closes at 10pm. But if you’re still soaking in Marina Bay’s nighttime view, don’t feel pressured to leave; you can also have dinner in that area (near the giant trees) at a lower price. Just make sure to catch the last train home, then rest up for another day tomorrow.

A lazy night at Chinatown.
Day 2: Universal Studios + Sentosa + Orchard Road
Universal Studios. Most people we know come to Singapore for the chance to feel like a kid again at Universal Studios. If that’s not really your thing, all the better, since you won’t need to spend $65 or so on an all-day pass — you can still stroll around and take photos without spending a dime. To get there, take the MRT’s North-East Line or Circle Line to HarbourFront station, exit via E to VivoCity, and head to level 3 to board the Sentosa Express. Get off one stop later at Waterfront station, walk straight until you see Chili’s Restaurant on your right, then turn right toward the Universal Studios Globe. Check Resorts World Sentosa’s website for more details.

Be sure to drop by Universal Studios.
Orchard Road. From Universal Studios, return to HarbourFront MRT station, take the train, and alight at Dhoby Ghaut station. Transfer to the red line, which will take you to either Orchard or Somerset station. Spend the rest of the evening taking pictures or strolling around — the Filipino mall area, Lucky Plaza, is just a few meters away. After dinner, head home before the MRT stops running.

Orchard Road transforms into an awesome attraction during the Christmas season, especially at night.
Day 3: Bugis + Kampong Glam + Little India + Clarke Quay
Spend your third day strolling around Bugis, Kampong Glam, and Little India. Your activities should include tasting Indian, Chinese, and Arab cuisine, and buying cheap items, so make sure to set aside extra money for shopping. From your place, take the MRT Green Line to Bugis and spend a few hours there and at the nearby Kampong Glam before heading to Little India, just two stations away via the Purple Line.
Immerse yourself in the Indian culture on that side of Singapore, and be sure to have dinner there (Indian food, if possible) before heading to Clarke Quay via the Purple Line, just two stations away.

Bugis Street Market is a destination in itself while in Singapore.

See what Kampong Glam in Singapore has to offer.

See for yourself what Little India has to offer.
In Clarke Quay, immerse yourself in Singapore’s night culture. You may want to enjoy a few bottles of beer or a cocktail or two in the area, and again, take plenty of photos — these are three colorful areas where you can put your photography skills to the test. Book a hotel near Clarke Quay.

This is the colorful Clarke Quay at night.
Day 4: Visit a Singapore Museum
This is your last day, and chances are you’ll only have half a day left in the city. Why waste it, though, when you could use it to get to know Singapore even better? Beyond your three days of experience, you can also take home a bit of its history and culture through its artifacts. We urge you to visit at least one museum before you leave, and though Singapore has plenty to choose from, a quick trip to the National Museum of Singapore is a must.
With a history dating back to its founding in 1887, it’s the nation’s oldest museum, yet still forward-looking in spirit.
The quickest way there is via any of these MRT stations: Bras Basah (5-minute walk), Dhoby Ghaut (5-minute walk), or City Hall (10-minute walk).
“Its galleries adopt cutting-edge and multi-perspective ways of presenting history and culture to redefine conventional museum experience. A cultural and architectural landmark in Singapore, the Museum hosts innovative festivals and events all year round—the dynamic Night Festival, visually arresting art installations, as well as amazing performances and film screenings—in addition to presenting thought-provoking exhibitions involving critically important collections of artifacts,” the museum website says.

Standing mysterious even at night, the National Museum of Singapore is a must-visit.

These were made entirely of toys, says Instagrammer @thelindsayfish in her post from a recent visit to the National Museum of Singapore.
See this link for a list covering most of the sites you’ll be visiting: 10 Things To Do in Singapore.
This budget doesn’t include airfare from your home country, though. If you’re from a Southeast Asian country, especially the Philippines, you can score a good airline deal for less than P2,000 (around $45), all-in, two-way. As of this posting, the plan to scrap the Philippine airport tax hasn’t been approved yet, so you’ll still need to pay around P1,650 for that.
Budget Breakdown:
- Accommodation = 3 nights x P650 (Hostel) = P1,950.00
Meals x P170 x 10 meals = P1,700.00
(2 meals on Day 1 + 3 meals each on Day 2 & Day 3 + 2 meals on Day 4) - Value Card for transpo = $40 x 34 = P1,400.00
- Sites to visit – FREE
TOTAL Budget: P5,050.00
If you’re good at budgeting, you can spend even less, but if this suggested budget feels too tight, adjust it to your liking. Just remember what travel experts say: it’s better to carry fewer things but double the cash. Traveling on a budget is fine, but it’s still wise to bring more cash than you think you’ll need.
Ready to explore Singapore? Book your flight now and start packing. Feel free to share this with your friends.
Photos by travelmore.ph, thaholiday.com, foundtheworld.com, handluggageonly.co.uk, weekendnotes.com, SingaporeGuide.com, sg.asia.city.com, expatliving.sg, crossingtravel.com, and YourSingapore.com.
Pingback: A Luxurious Stay at the World-Class Pan Pacific Singapore | Travel More